To Create Configuration Settings Blocks by Importing Local Configuration Files
- Expand the WorkSpaces datasource node, then right-click Managed and select Import Managed Configuration.
- When the Managed Configuration Import Wizard opens, click Next.
- On the Choose Desired Action page, select Import MicroStation Configuration Files to ProjectWise Configuration Settings Blocks and click Next.
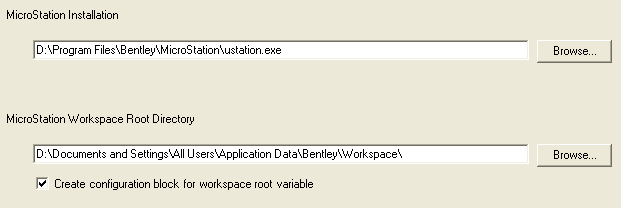
- On the Choose a MicroStation Installation and Workspace Root page, verify that the MicroStation installation and workspace displayed are the ones you want to import data from. Also, turn on Create configuration block for workspace root variable. When finished, click Next.
-
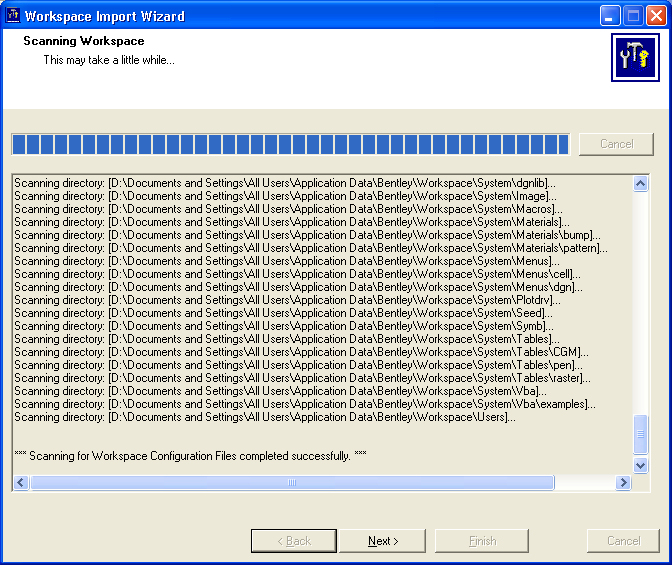
On the
Workspace Configuration Files page, click
Scan Workspace.
This scans the entire workspace that you selected to import on the previous page. Once this is done you can also add or remove individual files.
- When scanning is complete, click Next.
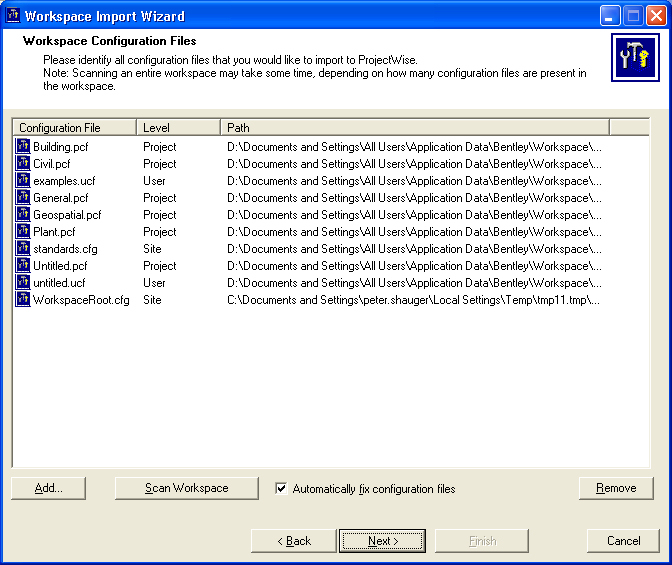
- The next page shows the configuration files that will be imported; click Next.
- When those files have been processed, click Next again.
- On the Configuration Settings Blocks page, review the configuration settings blocks that will be created. You can change block names and reassign the ProjectWise level, or you can remove blocks you do not want to create. When finished, click Next.
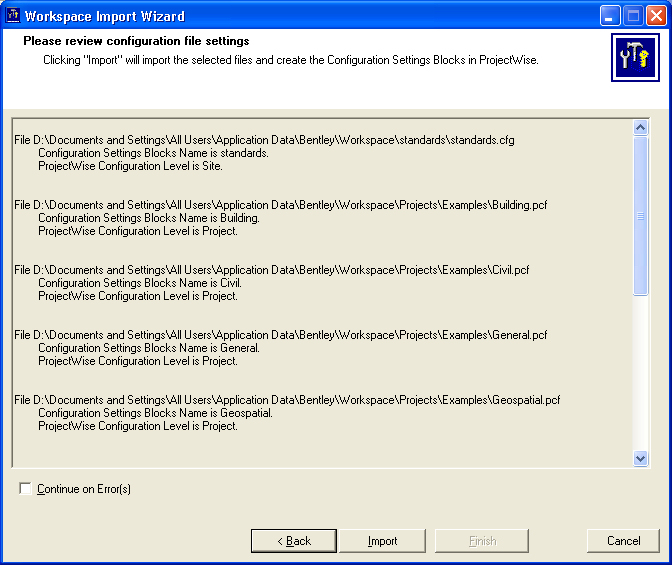
- On the Please review configuration file settings page, click Import.
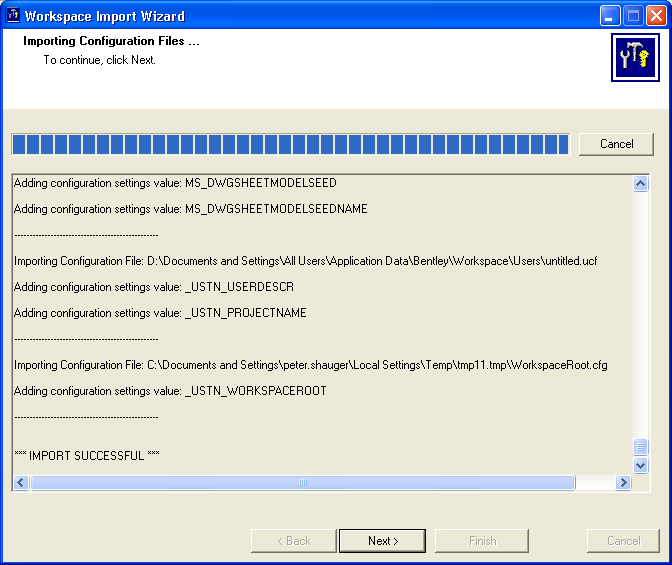
-
When the import is finished, click
Next.
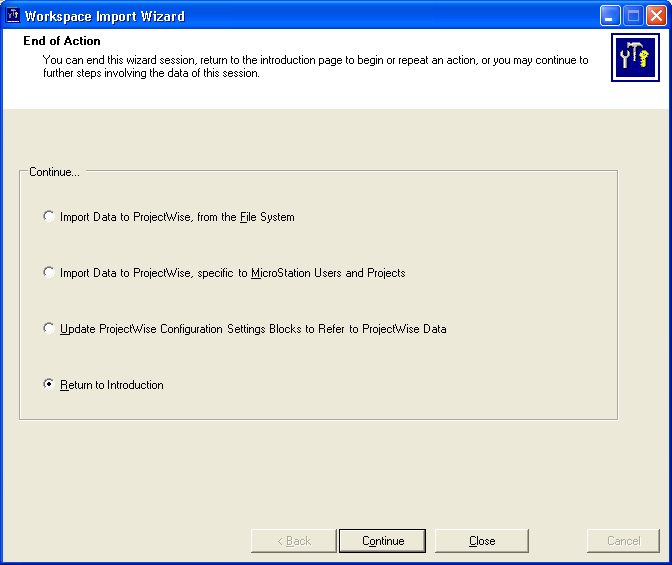
After this you can either close the wizard or go back to the first page of the wizard to select another action. Whichever you select, you should now open the newly-created configuration settings blocks in ProjectWise Administrator to verify the import.